
| Witam w kolejnym odcinku relacji z budowy samolotu PZL S-4 Kania 3. Po sklejeniu centralnej części kadłuba z kabiną załogi zabrałem się za część ogonową. | Welcome to the next part of the report on the build of the PZL S-4 Kania 3. After building the central part of the fuselage with the cockpit, I started the tail part. |

| Jej konstrukcja oparta jest na sztywnym szkielecie o dość specyficznej konstrukcji. Uwagę zwracają części W7, podłużnice będące jednocześnie częściowym podposzyciem i wzmocnieniem dla kolejnych segmentów kadłuba. Dzięki takiemu rozwiązaniu można bezpiecznie chwytać model, bez obaw, że poszycie się zapadnie. | Its construction is based on a hard framework with a rather specific structure. Attention is drawn to the W7 parts, girders which are also a partial undercoat and reinforcement for subsequent fuselage segments. With this solution, you can safely grip the model, without fear that the coating will collapse. |


| Przyznam się, że kusiło mnie sklejenie z ostatnich trzech segmentów "skarpety" i nasunięcie jej na szkielet, ale zdecydowałem się zaufać rozwiązaniu proponowanemu przez autorów i nie modyfikować szkieletu na swoją modłę. | I admit that I was tempted to build the last three segments like a "sock" and slip it on the framework, but I decided to trust the solution proposed by the authors and not to modify the framework according to my methods. |


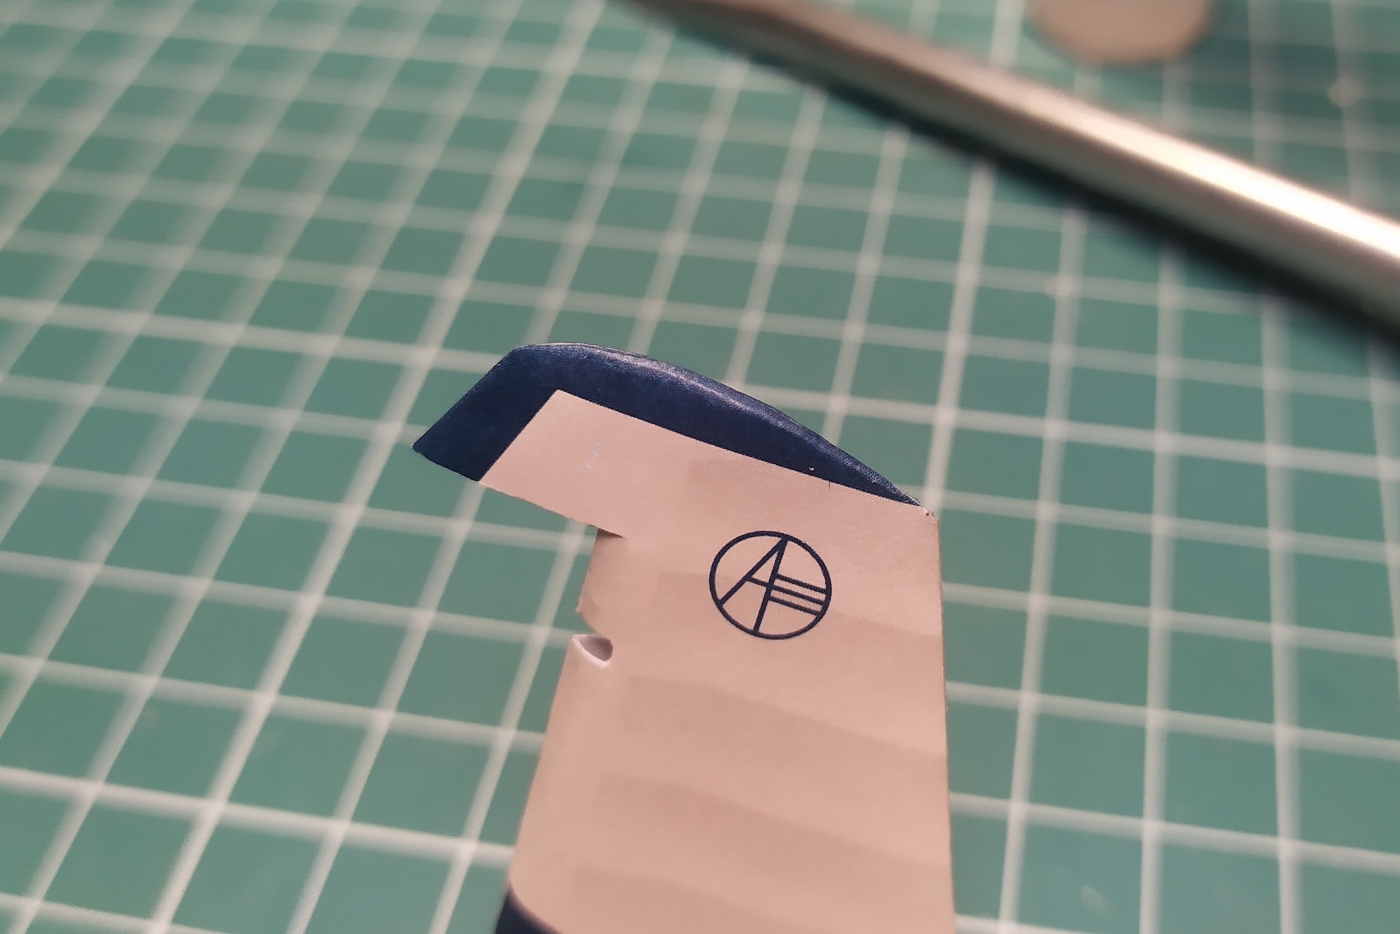
| Wspomniany i pochwalony przeze mnie wcześniej sposób wydrukowania elementów poszycia na szarym tle ma swoje niedoskonałości. Tak jak pisałem - jeżeli dobrze uda się trafić skalpelem w obrys i prawidłowo wyciąć, łączenie wyjdzie niemal niewidoczne. W przypadku, gdy choć odrobina szarego zostanie na elemencie, miejsce styku będzie rzucać się bardziej w oczy. Niestety, na jednym z elementów w jego dolnej krawędzi wkradł się błąd w druku, krawędź nie jest prostą linią tylko falą. Mogłem wyciąć element tak, żeby wyrównać krawędź, ale postanowiłem wyciąć po zewnętrznej. Dobrze zrobiłem, bo po przyłożeniu element idealnie wpasował się na swoje miejsce. Wszedł bez oporu na pasek łączący za kabiną. Podejrzewam, że jeżeli zniwelowałbym ową falę wycinając po wewnętrznej obwód sklejonego segmentu mógłby okazać się za krótki. Koniec końców i tak nie wyszło najlepiej, bo choć na sucho pasowanie było super, to po sklejeniu łączenie nieco uwydatniło się, a granica koloru lekko się przesunęła (co ciekawe tylko z jednej strony). Kolejny element kadłuba bez problemu wpasował się na swoje miejsce, po nim dokleiłem segment kończący kadłub i zamknąłem całość elementem W14. Celowo zostawiłem go sobie na koniec, żeby nie przeszkadzał mi w nasuwaniu kolejnych elementów kadłuba na szkielet. | The previously mentioned and praised way of printing elements of plating on a grey background has its imperfections. As I wrote - if you manage to hit the contour with a scalpel blade and cut it correctly, the joining place will come out almost invisible. In case that, a bit of grey remains on the element, the joining place will be more conspicuous. Unfortunately, one of the elements at its bottom edge has a print error, the edge is not a straight line but a wave. I could cut the element to even the edge, but I decided to cut it on the outside. I did it well because after applying the element fits perfectly in its place. It fits into the connecting strap behind the cockpit flawlessly. I suspect that even if I had evened this wave by cutting the perimeter of the glued segment on the inside it might have been too short. In the end, it did not work out well. Although the dry fit was great, after glueing, the joining slightly enhanced, and the colour border slightly shifted (interestingly on one side only). The next element of the fuselage fitted easily into its place, after which I glued the segment ending the hull and closed the whole with the W14 element. I waited with it on purpose so that it would not interfere with sliding the next elements of the hull onto the framework. |


| Kolejnym etapem była budowa statecznika pionowego ze sterem kierunku. Rozwiązania zastosowane w projekcie tych elementów przypominają mi nieco te z Kartonowego Arsenału. Szkielet zarówno steru jak i statecznika jest dość mocno rozbudowany, składa się z wielu żeberek i usztywnień. W dolnej tylnej części kadłuba zwraca uwagę otwór zaczepu liny do holowania szybowca. Zgodnie z zaleceniem wyciąłem go, aby uzyskać bardziej realistyczny efekt. Wartym zwrócenia uwagi jest też fakt, że projekt przewiduje możliwość sfazowania krawędzi spływu sterów. Zebrałem od wewnątrz tyle ile było to możliwe i uzyskałem cieniutką krawędź. Bardzo ładnie prezentuje się nadruk imitujący odciśnięte żeberka na płótnie steru kierunku i sterów wysokości. Zostawiłem w standardzie, bez nagniatania. Lampka pozycyjna wykonałem jak zwykle, z kropelki kleju introligatorskiego. | The next stage was the construction of a vertical stabilizer with a rudder. The solutions used in the design of these elements remind me a bit of those from the Kartonowy Arsenal. The fuselage of both (the rudder and ballast) is quite extensive, it consists of many ribs and stiffeners. At the bottom rear of the fuselage, there is a hole for rope glider towing. As recommended, I cut it out for a more realistic effect. It is also worth noting that the design enables the possibility of chamfering the rudder trailing edge. I sanded as much as possible from the inside and obtained a thin edge. The print imitating ribbed ribs on the canvas of the rudder and rudders looks very nice. I left it as standard, without burnishing. As usual, the position lamp was made of a droplet of bookbinding glue. |


| Montaż stateczników poziomych wraz ze sterami wysokości przebiegł bezproblemowo. Jestem pod wrażeniem jak pięknie pozamykały się końcówki stateczników, bez nacinania. Jedyną moją ingerencją było sfazowanie od wewnątrz. Wszystko klejone na BCG. Wartym zauważenia pomysłem są białe pola zwiększające powierzchnię cienkich końcówek statecznika, dzięki czemu nie połamią się w trakcie formowania czy montażu. Odcinamy je dopiero po doklejeniu poszycia na szkielet. Dodatkowo można wyciąć szare pola w rogu, żeby ułatwić sobie pozycjonowanie poszycia. | Installation of horizontal stabilizers together with elevator controls went smoothly. I am impressed that the tips of the stabilizers were closed beautifully, without cutting. My only interference was the sanding from the inside. Everything glued on BCG. A noteworthy idea is that the white areas increase the surface of the thin tips of the stabilizers, so they will not break during forming or assembly. We cut them off only after glueing the skin to the framework. In addition, you can cut out the grey fields in the corner to help you position the skin. |


| Finałem dzisiejszego odcinka jest oczywiście połączenie wszystkiego w całość. Stateczniki poziome wpasowały się na swoje miejsca po delikatnej korekcie papierem ściernym górnych powierzchni w miejscu styku z kadłubem. Po pierwszych przymiarkach ujawniła się niewielka szpara na styku z kadłubem, wspomniany lekki szlif załatwił sprawę. | Of course, the final of today's episode is to assemble everything into a whole. Horizontal stabilizers fit into their places after gentle correction of the upper surfaces with sandpaper at the point of contact with the hull. After the first adjustments, a small gap appeared at the contact with the fuselage, the aforementioned light sanding did the trick. |

| Jeżeli w takim modelu jak ten jakieś elementy są zdublowane, to jest to już sygnał dla modelarza, że może nie być łatwo. Podwójny jest cały komplet oprofilowań pomiędzy kadłubem a statecznikami. To było jak do tej pory jeden z trudniejszych miejsc w tym modelu, spasowanie jest idealne, ale wyprofilowanie i odpowiednie wklejenie tych elementów to już wyzwanie. Nie jest to może jeszcze Mount Everest modelarstwa kartonowego, ale wierzchołki alpejskich szczytów zostały już nieco pod nami. W jednym miejscu na czołowym styku dwóch oprofilowań mogło może wyjść lepiej, ale i tak jestem zadowolony. | If any elements are duplicated in a model like this, this is already a signal to the modeller that it may not be easy. The whole set of profiling between the fuselage and stabilizers is double. It was one of the most difficult places in this model so far, fitting is perfect, but profiling and proper positioning of these elements is a challenge. It may not yet be Mount Everest of the cardboard modelling, but the tops of the Alpine peaks are already slightly below us. In one place at the front contact of two profilings it could have come out better, but I'm still happy. |


| Pamiętacie z poprzedniej części dźwignię napędu klapek wyważających stery? Oto i klapki wyważające wraz z cięgnami, które nimi poruszały. Teraz mechanizm jest kompletny. | Do you remember from the previous part the lever of the elevator trim tabs? Here are the elevator trim tabs together with the cables that moved them. Now the mechanism is complete. |

| Im dalej idę do przodu z budową, tym bardziej ten samolot mi się podoba. Po doklejeniu usterzenia zaczęła się wyraźnie zarysowywać sylwetka tej maszyny. Nie jestem zadowolony jedynie z jakości łączenia poszycia zaraz za kabiną. Na sucho było w porządku, ale po sklejeniu pojawiły się pewne nierówności, trochę próbowałem wygładzić na mokro zmywając przy tym odrobinę retuszu i uwypuklając to jeszcze bardziej. Więcej nie kombinuję, bo naprawdę szkoda by mi było popsuć. Lubię ten model. Już się cieszę na klejenie skrzydeł. Na koniec jeszcze jedno zdjęcie, będące zapowiedzią tego co zobaczycie wkrótce :) | The further I go forward with the build, the more I like this plane. After assembling the tail, the silhouette of this machine began to become clearly visible. I am not satisfied only with the quality of connecting the plating just behind the cabin. It was fine dry, but after gluing some bumps appeared, I tried to smooth it, but in the end a bit of retouching has been washed. I do not contrive more because I really fear I could ruin it even more. I like this model. I am already looking forward to gluing the wings. At the end, one more picture, which is a preview of what you will see soon :) |


Brak komentarzy:
Prześlij komentarz